Are you interested in the Mervis system, thinking about using it in your project? We bring you a short guide for the first steps using the Mervis, from the controller start-up to the installation of Mervis itself.
Step 0: Plan your project
Before the purchase of the Unipi controller itself, it is necessary to set up your expectations. Do you want to control the lighting in your house? Do you want to remotely control your heating? The planned purpose of your project will determine the number and type of required components; this will, in turn, determine the number and type of inputs/outputs the project will require. In the planning phase, we also recommend making a preliminary sketch of all connections between individual switches and devices. It is also a good practice to count with an I/O reserve; with enough I/Os to spare, you will prevent any unpleasant surprises during the installation (ie. running out of I/Os) and also gain enough space for any future improvements.
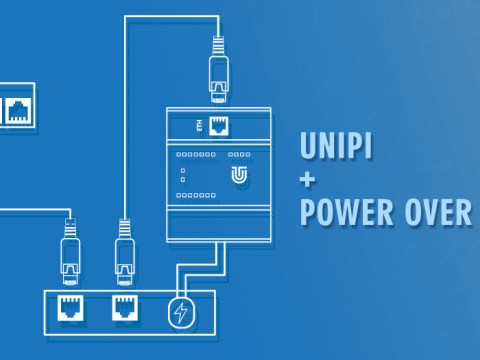
Step 1: Powering the controller up
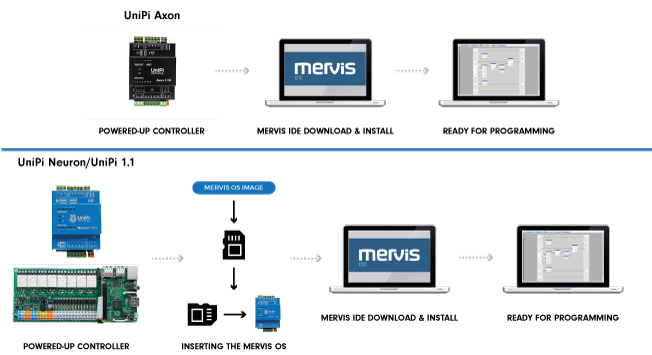
Power up the Unipi controller by connecting it to a power supply. Unipi Neuron and Unipi Axon controllers use a 24 V power supply with 0.63 A or 1.5 A current depending on the model. Unipi 1.1/1.1 Lite boards then use 5 V @ 2.4 A power supply which can be purchased both in the DIN rail variant and in the variant for regular sockets. Info about the power supply requirements can be found in the manual for the given model. After powering the controller up, connect it to your computer or a network router using an Ethernet cable.
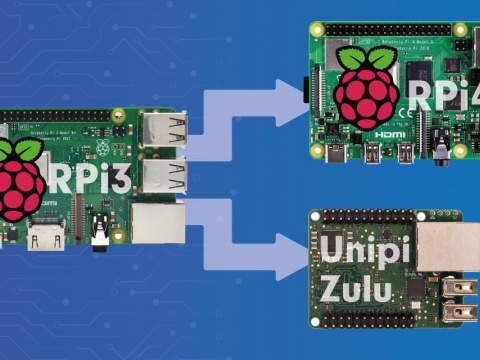
Step 2: Launching the Mervis
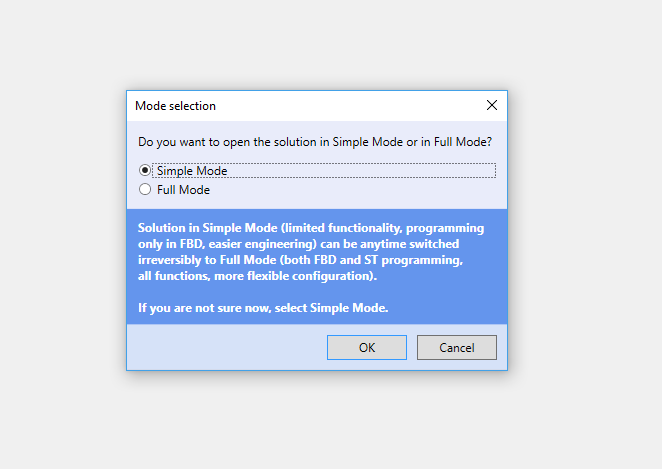
With the controller up and running, you can now install and run Mervis itself. Unipi Axon controllers are by default provided with pre-installed Mervis OS, allowing you to install the Mervis IDE development interface right away; the up-to-date Mervis IDE is available for free on the Unipi Knowledge Base. When using Unipi 1.1/1.1 Lite and Unipi Neuron, however, it is necessary to manually download the Mervis OS, upload it to an SD card and insert the card into the controller. After the IDE installation, we also recommend updating the Mervis RT runtime. With all these tasks completed, you can open the Mervis IDE, create a new project and pair it with the connected controller. For an easier start, we recommend running the Mervis in the Simple Mode.
Step 3: Building the network
After setting up the PLC you can start connecting system components. The first step is to generate variables for the PLC; to make the process faster and easier, we recommend to use the Set Autogen. This feature automatically enables all I/Os of the controller and provides them with default names. After that, you can add and pair individual devices with corresponding inputs or outputs; in this phase, all extension modules should be connected as well. Continue with setting up the network settings, e.g. device detection, and naming. More advanced users can set up a proxy server for the possibility of remote programming (more info about proxy servers can be found on the Unipi Knowledge Base).
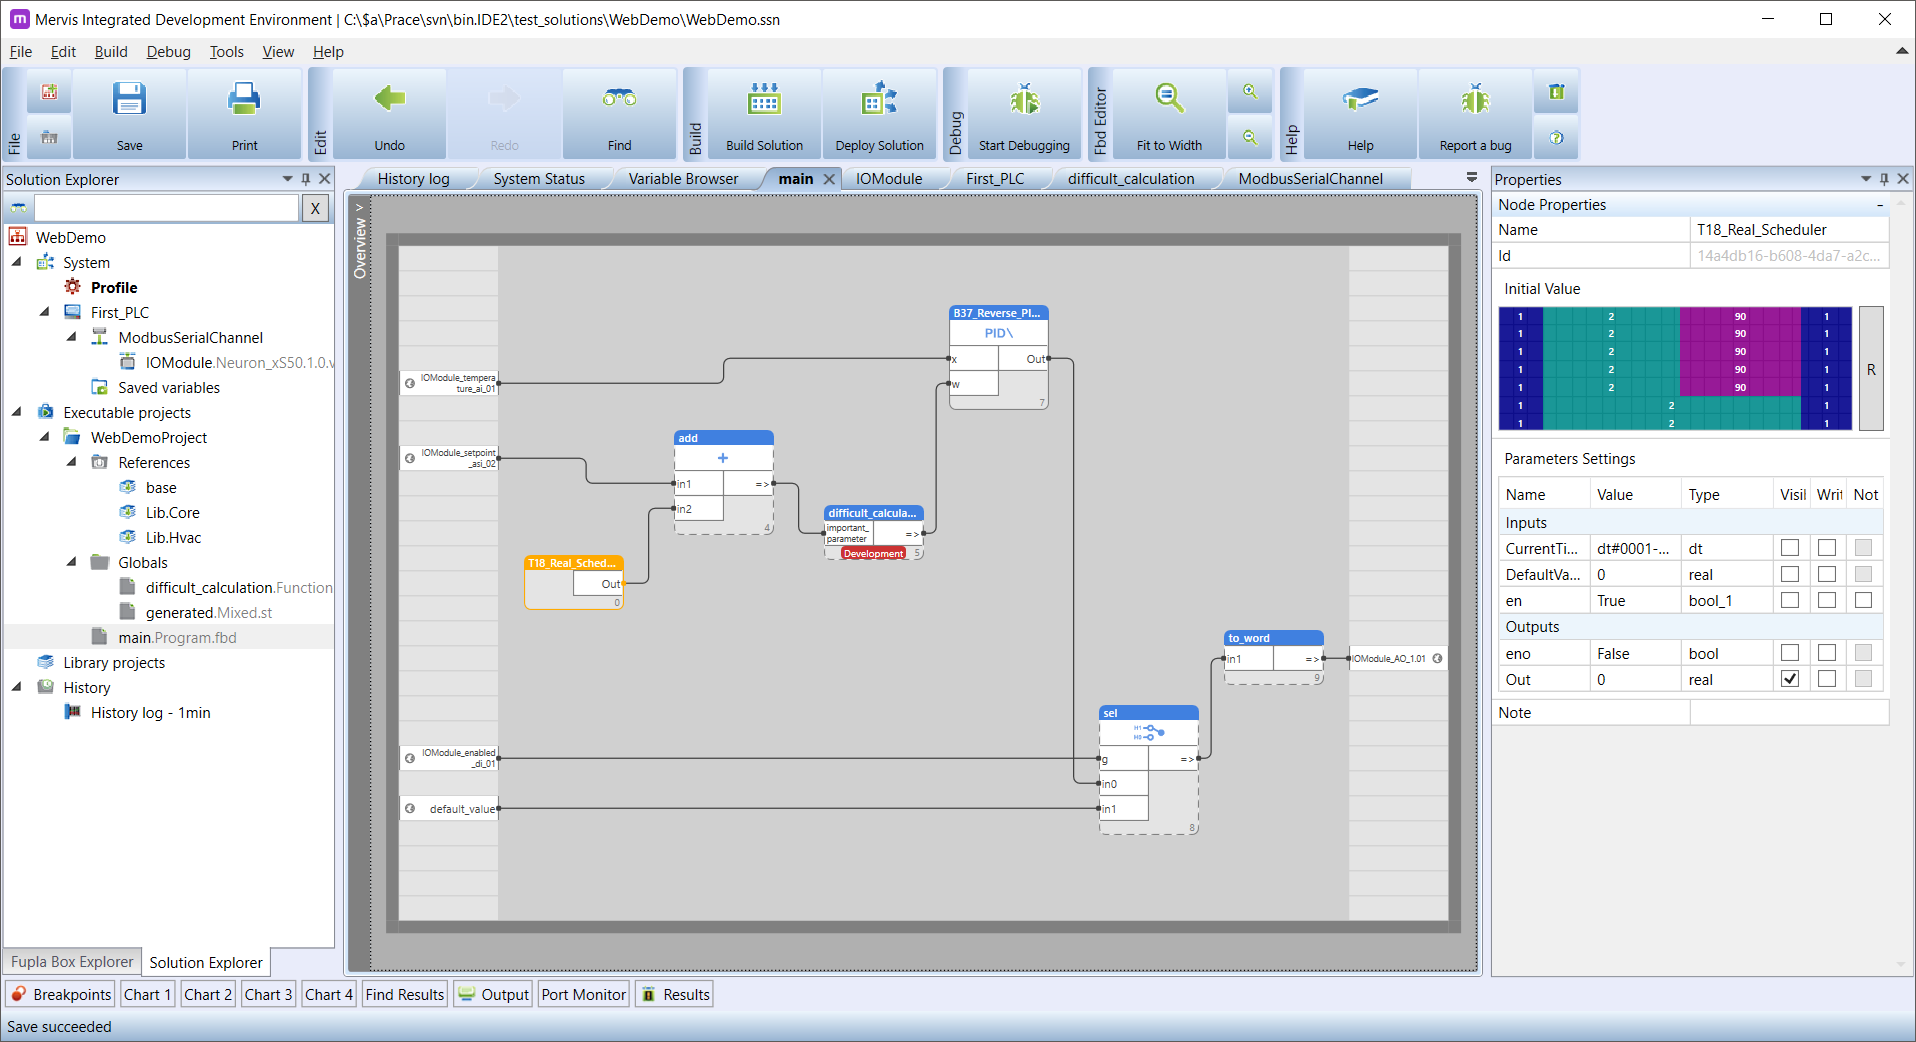
Step 4: Let's go programming!
If you completed all previous steps, you can start programming. For beginners, we recommend to create a sample project to try creating I/Os and implementing them into time programs or to transfer data into the HMI interface. The recent new release of Mervis has the HMI editor fully integrated into the Mervis IDE, making the work with it much easier. You can use our sample projects that can be found on the Unipi Knowledge Base.
Conclusion
If you just started with the Mervis, check out our 7 tips and tricks for PLC programming article, where you can find a list of practical tips, tricks, and good practices for working with not only Mervis but also with any other PLC programming software. On the Knowledge Base, you can also find comprehensible tutorials, sample projects, and other useful info.